
Connect repositories
A project’s Repositories tab is the code its agents build. Attaching one is what lets a task be bound to a repository, which is what gives a run something to check out and work in.
What you’ll need
Section titled “What you’ll need”- The Manage integrations permission, to install the GitHub App for the workspace.
- Admin rights on the GitHub organization or account that owns the repository, because installing an app is an account-level grant.
Install the GitHub App
Section titled “Install the GitHub App”The app is installed once for the whole workspace, not per project.
-
Settings, then GitHub. With nothing installed the page reads No GitHub App Installed.
-
Install GitHub App sends you to GitHub’s own installation screen, at
github.com/apps/<the app>/installations/new. -
On GitHub, pick the account or organization to install into, then choose All repositories or Only select repositories and pick them.
-
Install returns you to CommandChain, which records the installation and shows the account, the installation id, whether access is all or selected repositories, and the permissions granted.
Selected-repository access is the safer default. Widening it later is a change on GitHub’s side, from the same installation screen.
What the grant screen asks for
Section titled “What the grant screen asks for”Six permissions, and two webhook events:
| Permission | Access | What it is for |
|---|---|---|
| Metadata | Read | Listing the repositories the installation can see |
| Contents | Write | Reading the code, and pushing the branch a task’s work lands on |
| Pull requests | Write | Opening the pull request that promotes a reviewed changeset |
| Checks | Read | Reading the check runs your CI reports on a pull request |
| Workflows | Write | Letting a task change a workflow file, which GitHub gates separately |
| Administration | Write | Creating a repository, when a task needs one that does not exist yet |
The events are check_run and check_suite, which is how a finished CI run reaches the review
rather than being polled for.
Contents write is the one worth pausing on: it is what lets work be pushed at all. It is scoped to the repositories you selected, and it is used by the runner and the platform rather than by an agent (see below). Administration write is used for one action only, creating a repository, and only when a person presses the button. Nothing here can delete a repository, and a build gate fails the moment any code that could appears.
Attach a repository to a project
Section titled “Attach a repository to a project”-
Open the project, then Repositories.
-
Add Repository searches the repositories the installation can see. Nothing outside the installation is searchable, which is the grant doing its job.
-
Pick one, add a note saying what it is for, and add it.
-
Optionally tick extract intents to have an agent read the code and propose requirements and scope items for Project Data. You review every candidate before any of it lands.
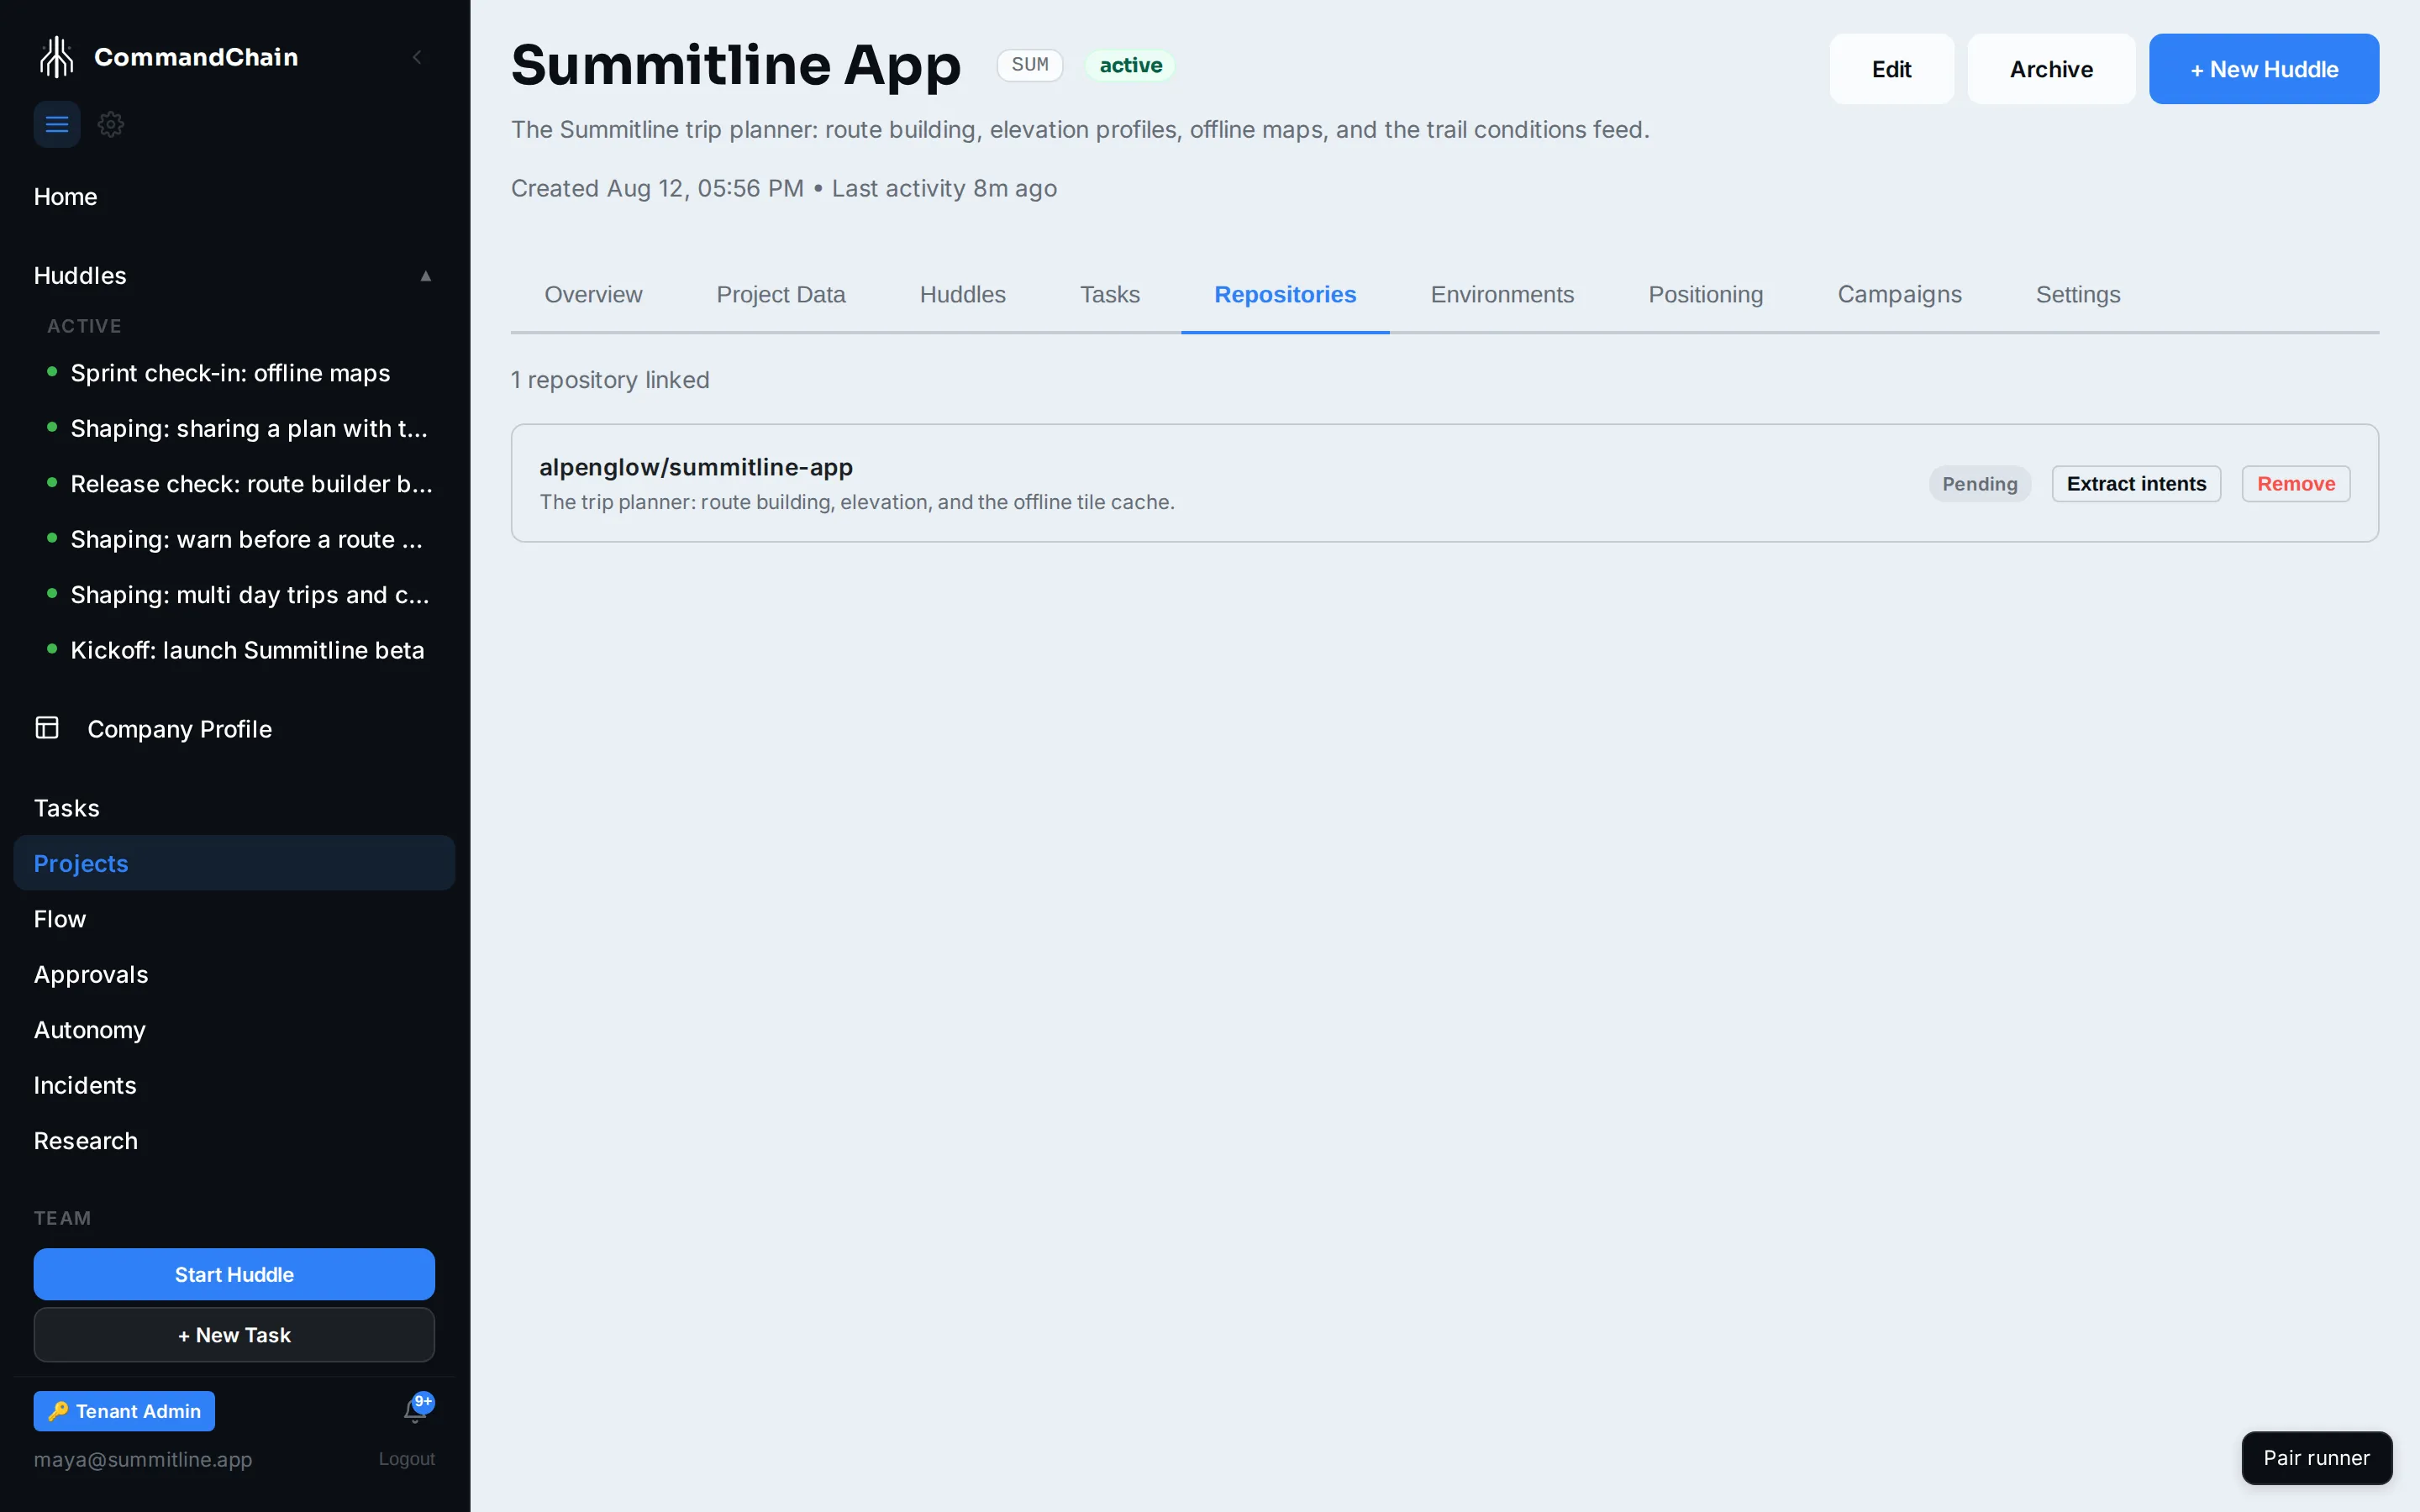
Each row shows the repository, its note (select the note to edit it), its index status, and the intent-extraction control: Extract intents first time, Analyzing while an agent is reading it, Review N intents when there are candidates waiting, and Re-extract afterwards. Remove detaches it from the project and touches nothing on GitHub.
When the repository does not exist yet
Section titled “When the repository does not exist yet”Work does not always belong in a repository you already have. A huddle that decides to split a marketing site out of an existing application produces a task with nothing to attach it to, and CommandChain says so instead of guessing. The task carries a proposed name and one sentence saying what will live there, sits blocked, and offers Set up repository.
That button opens the same drawer from the task’s banner, its Execution tab, this tab, and Settings, then GitHub. Name and purpose arrive prefilled and editable, visibility defaults to private, and Create repository makes it and links it here. What lands on GitHub is one commit, a README carrying the purpose sentence, because a repository with no default branch cannot be checked out. Started from a blocked task, the same action re-points that task, clears the block, and lets it run.
Nothing is created automatically, and Add Repository is always the other answer, right whenever the repository existed all along and was never attached.
What agents may do with your code
Section titled “What agents may do with your code”The split is worth being precise about, because it is a security property rather than an implementation detail.
| Who | What it may do |
|---|---|
| The agent | Read and write files inside its sandboxed working tree, on the task’s own branch |
| The runner | Clone, fetch, commit, and push, using the git access the machine already has |
| The platform | Open and merge pull requests through the GitHub App installation |
The agent never pushes. It is sandboxed and cannot reach your git credentials: when it finishes, the runner makes the commit and the push. An agent that wanted to exfiltrate your keys could not read them, and one that wanted to force-push could not reach the remote. Work lands on a branch named for the task, never on your default branch.
See workspaces and git for what the runner does around the agent, and the security model for the boundary as a whole.
Next steps
Section titled “Next steps”- Set environment variables and secrets: what a run gets besides the code.
- Ship code from a huddle: repositories, branches, merge, and release.
- Workspaces and git: the checkout on your machine.